Data is a precious asset and should be treated accordingly. Most Mac users take the intactness of their personal files for granted and don't bother safeguarding them proactively until disaster strikes. However, this is a slippery slope. Human error, hardware failures, and malware activity can ruin your data when you least expect it.
We all slip up sometimes and delete files unintentionally. Storage devices are susceptible to physical impact, aging, and corruption. Malicious code such as Mac ransomware can badly damage your files and make them inaccessible.
You should have a plan B for such predicaments. This guide will shed light on Mac security and Mac data recovery best practices. You will learn how to protect your files against unwanted interference and how to recover them if they suddenly go missing.

Part 1. Mac Data Security Fundamentals
Method 1. Back up Your Data Using Time Machine
Method 2. Back up Your Data to the Cloud
Method 3. Use FileVault to Add Encryption and Extra User Verification to the Mix
Part 2. How to Recover Data on Mac
Method 1. Recover Deleted Files from Trash
Method 2. Recover Data from Time Machine Backup
Method 3: Use Coolmuster Data Recovery for Mac
An effective backup strategy is the best way to mitigate risks to your data no matter where they may come from. Recovering from a ransomware attack or dealing with the aftermath of disk corruption is easy as long as you have extra copies of your files stored in a safe place. Data encryption is another layer of protection that will make hackers frown even if they gain unauthorized access to your device.
Thankfully, your Mac provides both backup and encryption features out of the box. Here is a summary of effective techniques to strengthen your data security and privacy on Mac.
You don't have to reinvent the wheel – macOS comes with a backup feature that will do all the tedious work for you. Keep in mind that you need to connect an external storage device to your Mac to maintain data backups this way.
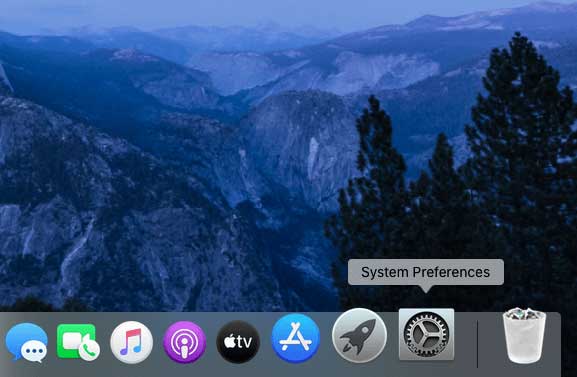
Step 1: Go to System Preferences
Click the "System Preferences" icon in your Dock. This will open a screen that embraces all controls and customizations that allow you to personalize your Mac experience.
Step 2: Set up a Data Backup with Time Machine
Open "Time Machine" from the System Preferences pane. Click "Select Backup Disk," pick the external media for backups, and follow further prompts to complete the process. From now on, Time Machine will be making periodic backups automatically.
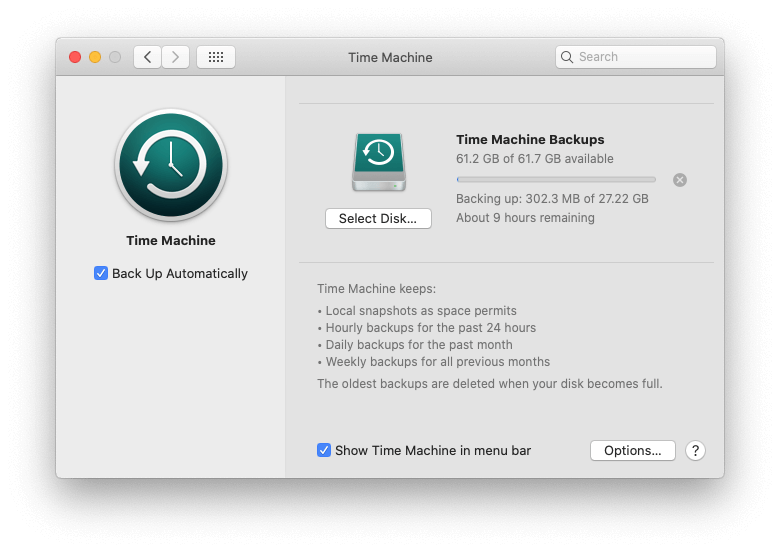
Be advised that the first backup can take a long time to complete (most likely several hours), depending on the amount of data on your Mac. Once the feature is configured, you can restore previous versions of your files whenever you want. Once your files are lost, you can easily recover deleted files from Mac at anytime.
You can alternatively use cloud services such as Dropbox, Google Drive, or iCloud to store backup copies of your files. The key benefit of doing so is that you can access your files anywhere from any device.
FileVault automatically encrypts files on your startup disk, thus making it useless for potential intruders who may stealthily gain a foothold on your Mac. When it's enabled, you will also be required to log in with your admin credentials every time your machine starts up.
Step 1: Open the FileVault Feature
Click the "System Preferences" icon in the Dock, select "Security & Privacy," and click the "FileVault" tab.
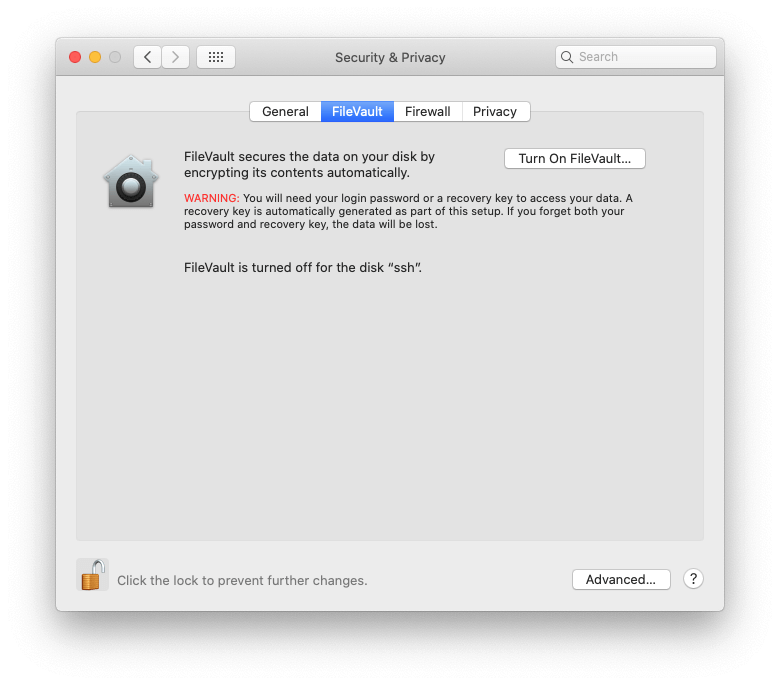
Step 2: Enable FileVault
Before you activate this feature, click the padlock sign at the bottom of the screen and enter your admin password to make changes. Then, click the "Turn On FileVault" button and follow on-screen tips to have your data secured through automatic encryption.
Tips: Files are lost due to system restore? No worry. Check how to recover lost files after system restore now.
Data loss scenarios vary, and so do the applicable recovery mechanisms. If you have accidentally deleted a file and it's still in your Trash, reinstating it is very easy. In case data has become corrupted or damaged in some other way, the procedure is more challenging. Either way, there are tried-and-tested methods to address the issue for Mac OS security.
If the files you need to recover are still in the Trash folder, this technique is definitely worth a shot. It is something like the Mac system recovery. Here is how you do it.
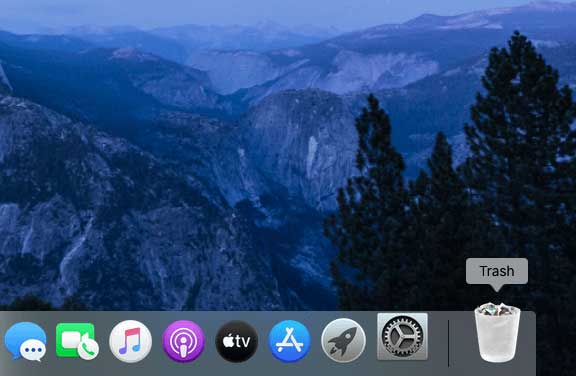
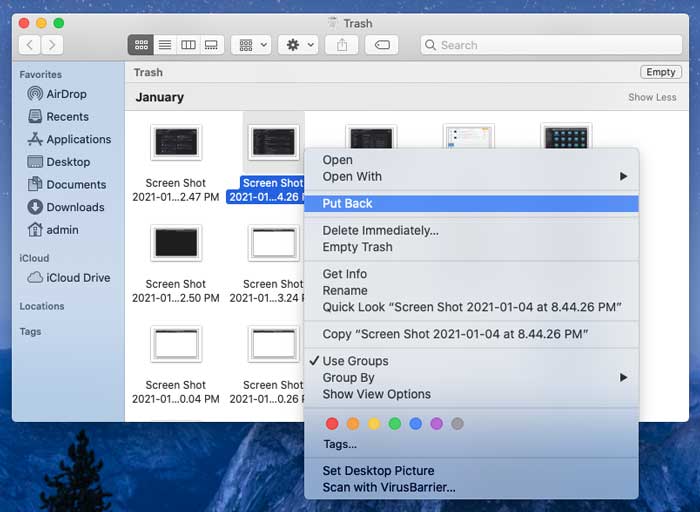
Step 1: Open the Trash folder
Click the Trash icon in your Dock as illustrated below.
Step 2: Restore Files You Need Back
Check the Trash folder for the item or items you want to restore. For your convenience files are grouped by the time they were deleted (Today, Yesterday, Previous 7 Days, Previous 30 Days, etc.). Right-click the file you need and select "Put Back" in the context menu. It will now reappear in the directory it was originally removed from.
Notes: What to do if there is no needed files from the Trash folder? See how to recover files deleted from emptied Trash on Mac here.
If you have previously enabled automatic Time Machine backups, using this feature is an amazingly simple way to get your missing files back. It works wonders even if you have emptied your Trash and the required files are no longer there.
Step 1: Open Time Machine
Click the Time Machine icon in the Finder toolbar and select "Enter Time Machine."

Step 2: Restore the Latest Versions of Your Files
Select the item you want to reinstate. The feature displays a timeline so that you can pick the most recent version or an older one if you so desire. When done, click the "Restore" button. That's it. The file is back. Redo the procedure for all the other items you want to recover.
If you have recently purged the contents of the Trash folder and there is no Time Machine or cloud backup available, don't panic. There is still a good chance you can recover lost files regardless. Coolmuster Data Recovery for Mac is an incredibly effective Mac data recovery software tailor-made to bring back data that seems irreversibly gone. By the way, the Windows version of Coolmuster Data Recovery is also available.
The following steps will walk you through the process:
Step 1: Download and Install Coolmuster Data Recovery for Mac
Download the 5.7 MB app installer and run it.


You will see a window asking you to move the utility to the Applications folder. Go ahead and drag the icon as instructed.
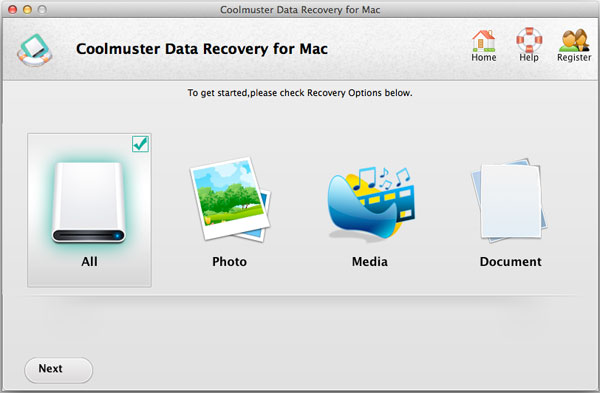
Step 2: Run the Software and Select a Recovery Option
Open the Launchpad, find Coolmuster Data Recovery for Mac, and click it to run the tool. Then, pick the recovery option that fits your situation.
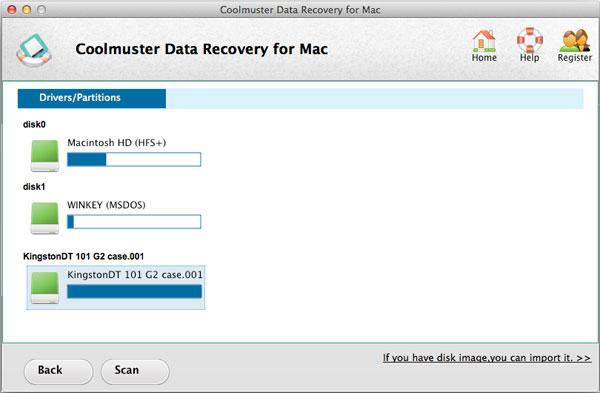
Step 3: Select the Storage to Scan
Once you specify the recovery mode and click "Next," the app will display your disk partitions and available storage media. Select the location from which data went missing and click "Scan" for the Mac hard drive data recovery or Mac disk recovery.
Step 4: Recover Your Data with the Recovery Software
As soon as the scan is completed, the Mac files recovery software will list all recoverable files it has found. You can preview items to make an informed decision. Put checkmarks next to all files you want to restore and click the "Recover" button. Then, specify the location the reinstated data should go to and click "OK" to finish the process of Macintosh file recovery.
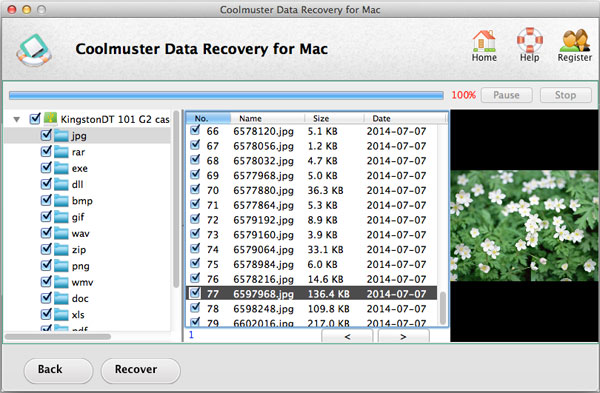
There is one important thing you should consider at this point: recovering a file back to the partition from which it originally vanished is not recommended because this could result in overwriting it.
So that's all about the tips of Mac data security and recovery. Have you got the information you want? Or did this help you out? You are welcome to leave what you think on the comment zone below.
Related Articles:
How to Recover Deleted Folders from External Hard Drive?
Unformat SD Card: Recover Formatted SD Card Data on Computer
How to Undelete Files on SD Memory Card?
How to Recover Lost/Deleted Data from HP Computer?
MacBook Pro Photo Recovery to Retrieve Deleted Photos on Mac


