How to Print Secured PDF Protected with Password on Mac / Windows?

"I have just received a password protected PDF file (Password isn’t for opening the file, but to change security settings like copying, editing, etc. only). I don’t have the password but I really need to print the PDF for my boss. Someone please give me the steps to remove the printing protection from PDF?" – Question from Yahoo Answers
There are many times we get secured PDF files that prevent us to copy, edit and print them directly. Such kind of PDF might be protected by owner password. Without the right password we can’t print or edit the PDF file. If you eager to print out the protected PDF files but have no idea how to deal with the password protection, you are on the right place. In this article, you’ll get the full guide on how to print protected PDF files on Mac or Windows PC.
The first thing is finding a reliable PDF tool to remove the PDF password protection. Coolmuster PDF Password Remover for Mac (or PDF Password Remover ) is a professional PDF protection cracker, which allows you to remove password protection from PDF documents with one click. Only after removing the password protection, you can print the out the PDF content. Below are the guides that show you how to print password protected PDF on Mac and Windows platforms.
Part 1.How to print protected PDF on Mac (including OS X 10.8)
Part 2.How to print secured PDF on Windows (including Windows 8)
You should first download the free trial version of the PDF Password Remover for Mac by clicking the button below. Then, install and launch it on your Mac machine.
Step 1. Import PDF Files
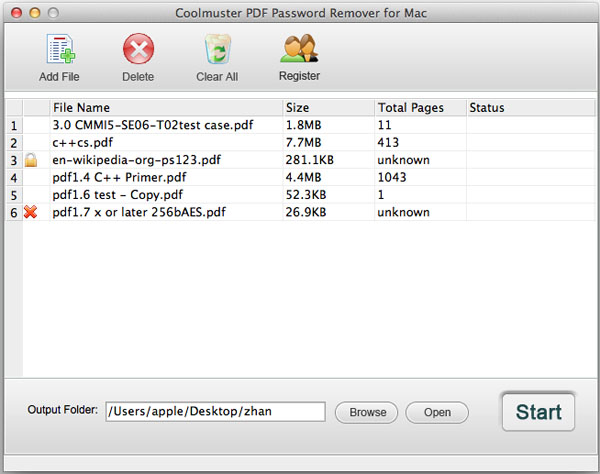
On the interface of the PDF tool, click "Add Files" button to upload the password protected PDF files to the program. Batch removing PDF protection is supported so that you can upload an array of PDF files at once.

* If a small lock icon appears on the PDF list, it means the PDF is protected by a user/open password. You need to enter the right open password to unlock the PDF.
* If there is no lock appears, it means the PDF is protected by an owner password and the program will decrypt it directly.
* If you see a cross icon, it means the PDF is not supported by this program.
Step 2. Customize Output Folder
The tool will save the output PDF files in the source folder as default. If you want, you can change the output location by clicking the "Browse" button on the bottom of the program.

Step 3. Print Protected PDF Files
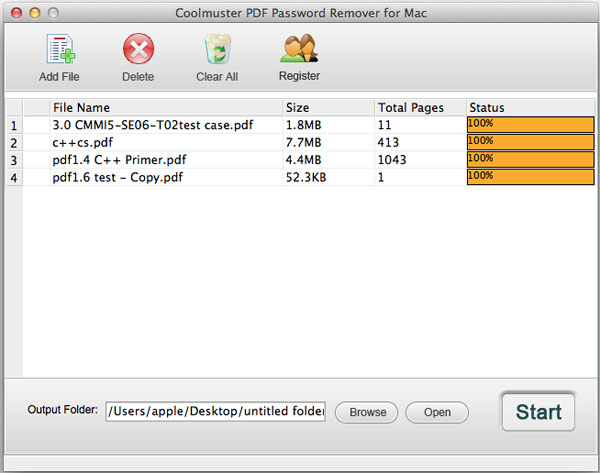
Now, you can click the "Start" button to remove PDF printing protection right away. After a few seconds, you can view the output PDF files by clicking the "Open" button. Open them and start to print.
Step 1. Download and Install the Program
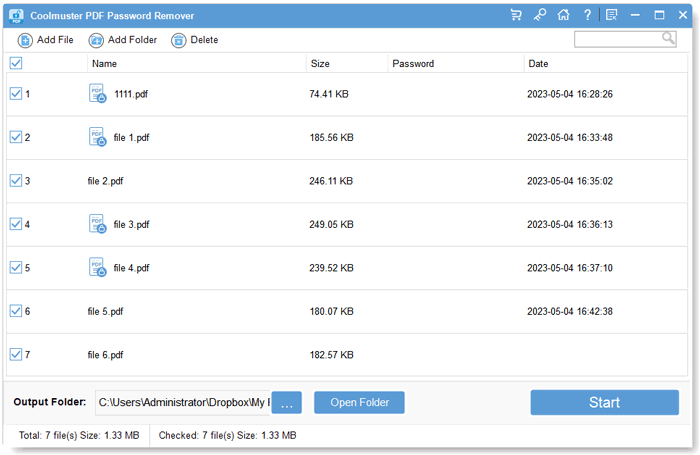
Download the Coolmuster PDF Password Remover and follow the prompt information to finish installing the app on your Windows PC, launch it from your computer desktop.
Step 2. Import Secured PDF Files
Click "Add Files" button to input the encrypted PDF files from local. Then, click the "Browse" button to specify an output folder for saving the decrypted PDFs.

Step 3. Start Printing Protected PDFs
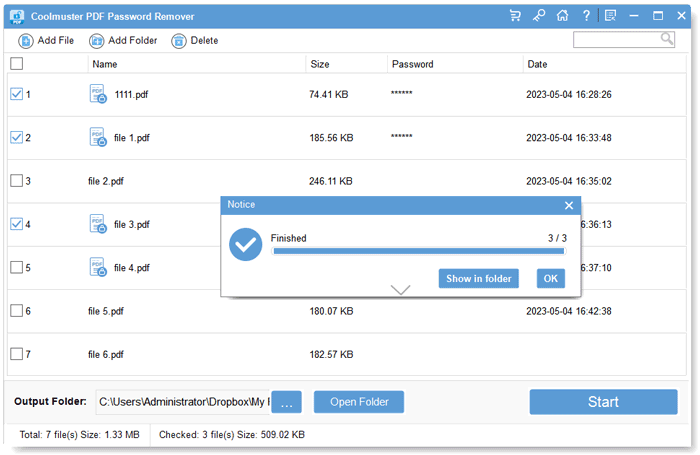
Hit on the "Start" button begin the password protection removing process on all the imported PDFs. You can right-click on the PDF and choose Decrypt Selected option to decrypt specific PDF.
